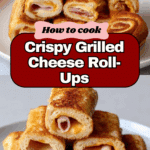
Delicious Grilled Cheese Roll-Ups Recipe
Introduction
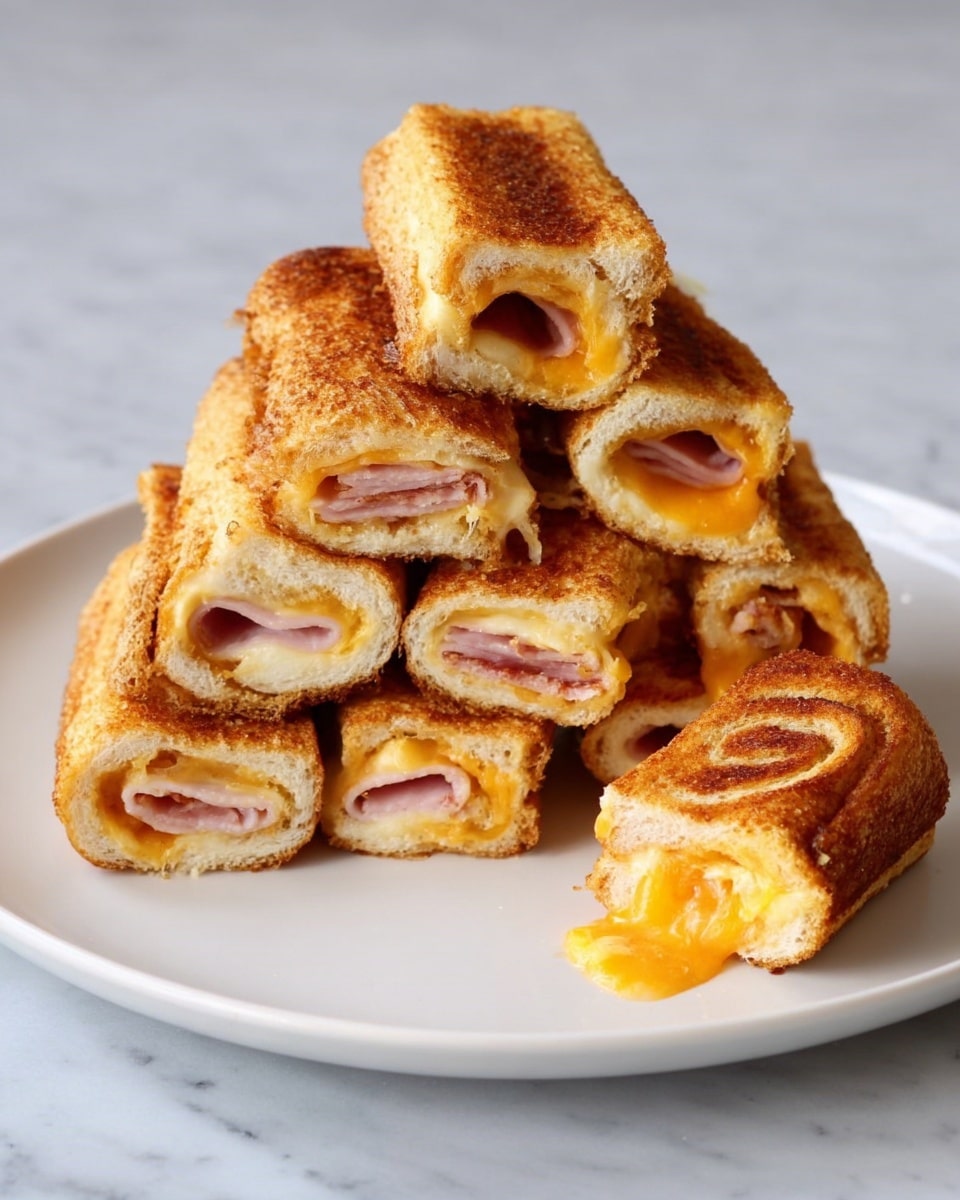
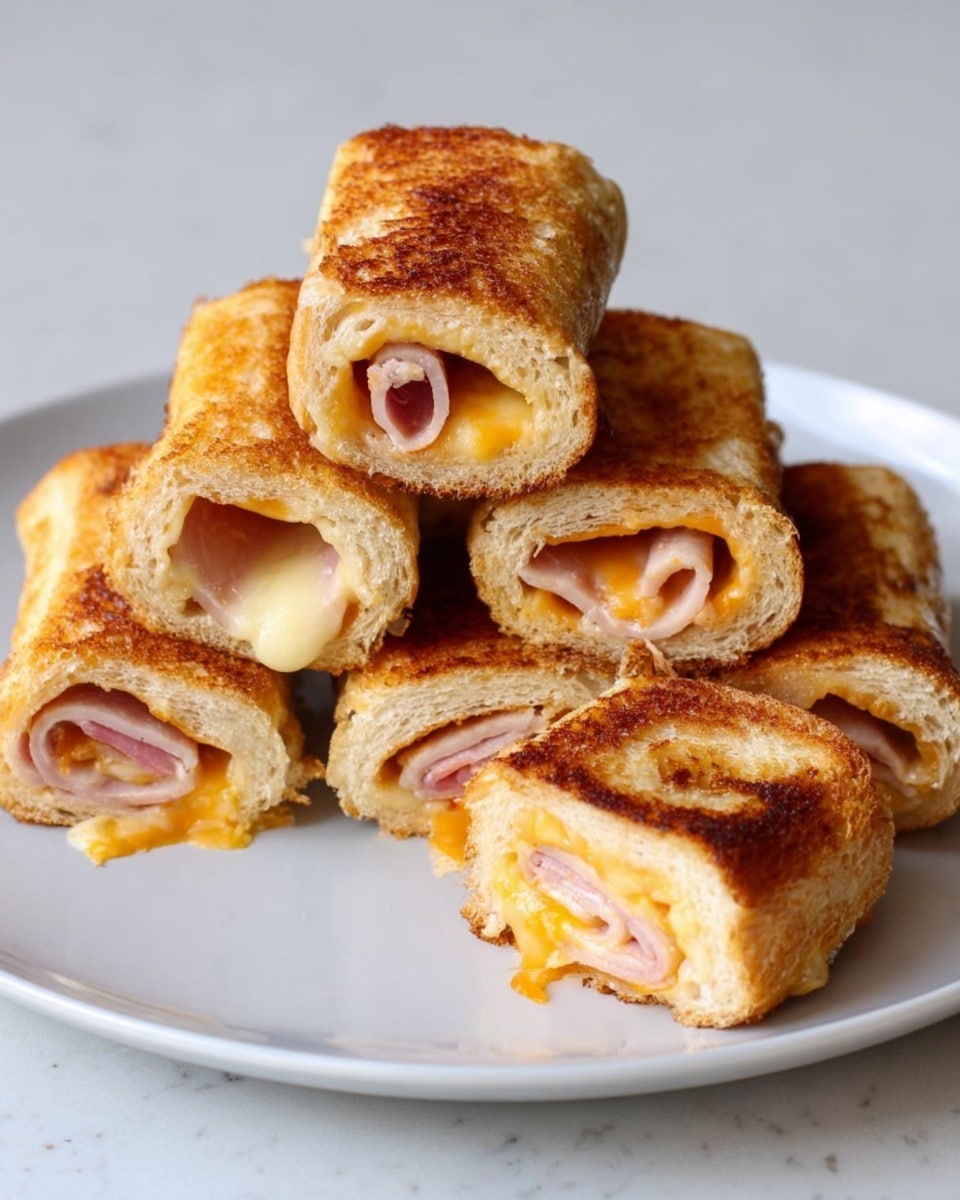
Grilled Cheese Roll-Ups transform the classic sandwich into a fun, bite-sized treat that’s perfect for lunchboxes or snacks. This simple recipe is quick to prepare and can be customized with your favorite fillings.
Ingredients
- 6 slices of bread
- 1 cup thinly shredded cheese (any variety you prefer)
- 6 thinly sliced pieces of ham (optional)
- 2 tablespoons of butter
Instructions
- Step 1: Remove crusts from the bread slices and gently flatten each slice with a rolling pin.
- Step 2: Sprinkle a generous amount of shredded cheese evenly over each slice of bread.
- Step 3: Place a slice of ham on top of the cheese if using.
- Step 4: Roll each slice tightly from one edge to the other to form a roll-up.
- Step 5: Heat a skillet over medium heat and melt the butter.
- Step 6: Place the roll-ups seam side down in the skillet and cook, turning occasionally, until all sides are golden brown and the cheese is melted, about 3-4 minutes.
- Step 7: Remove from heat, let cool slightly, then slice into bite-sized pieces if desired and serve warm.
Tips & Variations
- For extra flavor, add a sprinkle of garlic powder or Italian seasoning to the cheese before rolling.
- Try swapping ham for turkey, bacon, or your favorite deli meat.
- Use different cheeses like mozzarella, cheddar, or pepper jack for varied tastes.
- If you prefer a crispier texture, toast the bread lightly before assembling the roll-ups.
Storage
Store leftover roll-ups in an airtight container in the refrigerator for up to 2 days. To reheat, warm them in a skillet over low heat or in the oven until heated through to keep the exterior crisp.
How to Serve
Serve this delicious recipe with your favorite sides.
FAQs
Can I make Grilled Cheese Roll-Ups ahead of time?
Yes, you can assemble the roll-ups and keep them refrigerated for a few hours before cooking. Just make sure to cook them fresh for the best texture.
What if I don’t have a skillet?
You can use a non-stick pan or even a sandwich press to cook the roll-ups evenly and melt the cheese nicely.
PrintDelicious Grilled Cheese Roll-Ups Recipe

These Grilled Cheese Roll-Ups are a quick, fun twist on the classic grilled cheese sandwich. Rolled up with melty cheese and optional ham, then pan-fried to golden perfection, they’re perfect for a snack, lunch, or easy dinner that kids and adults will love alike.
- Prep Time: 10 minutes
- Cook Time: 12 minutes
- Total Time: 22 minutes
- Yield: 6 roll-ups (serves 3 as a snack or 2 as a light meal) 1x
- Category: Snack
- Method: Frying
- Cuisine: American
Ingredients
Roll-Ups
- 6 slices of bread
- 1 cup thinly shredded cheese (cheddar, mozzarella, or your choice)
- 6 thinly sliced ham slices (optional)
For Cooking
- 2 tbsp butter
Instructions
- Prepare the bread: Cut the crusts off each of the 6 bread slices. Using a rolling pin or your hands, flatten each slice until thin and pliable.
- Add the fillings: Place a thin layer of shredded cheese on each flattened bread slice. If using ham, add one thin slice on top of the cheese.
- Roll them up: Starting from one edge, carefully roll each bread slice tightly around the cheese (and ham) to form a roll-up. Pinch the edges lightly to seal.
- Heat the pan: In a large skillet or frying pan, melt the butter over medium heat, making sure it coats the bottom completely for even cooking.
- Cook the roll-ups: Place the roll-ups seam side down in the hot buttered pan. Cook for about 2-3 minutes on each side until the bread is golden brown and crispy and the cheese is melted inside. Rotate carefully to avoid unrolling.
- Serve warm: Remove from the pan and let cool for a minute before slicing in half. Serve immediately for best melty texture.
Notes
- You can customize the cheese type to your preference or dietary needs.
- Adding ham is optional; you can replace it with turkey, bacon, or create vegetarian roll-ups with just cheese and veggies.
- For easier rolling, slightly toasting or softening the bread helps prevent tearing.
- To keep roll-ups sealed, you can use a toothpick if necessary, just remove before serving.
- Cook on medium heat to avoid burning the bread while melting the cheese thoroughly.
Keywords: grilled cheese, roll-ups, quick snack, cheese snack, fried sandwich, easy lunch