Christmas Pudding Cake Recipe
Introduction
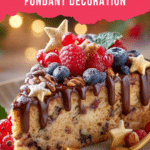
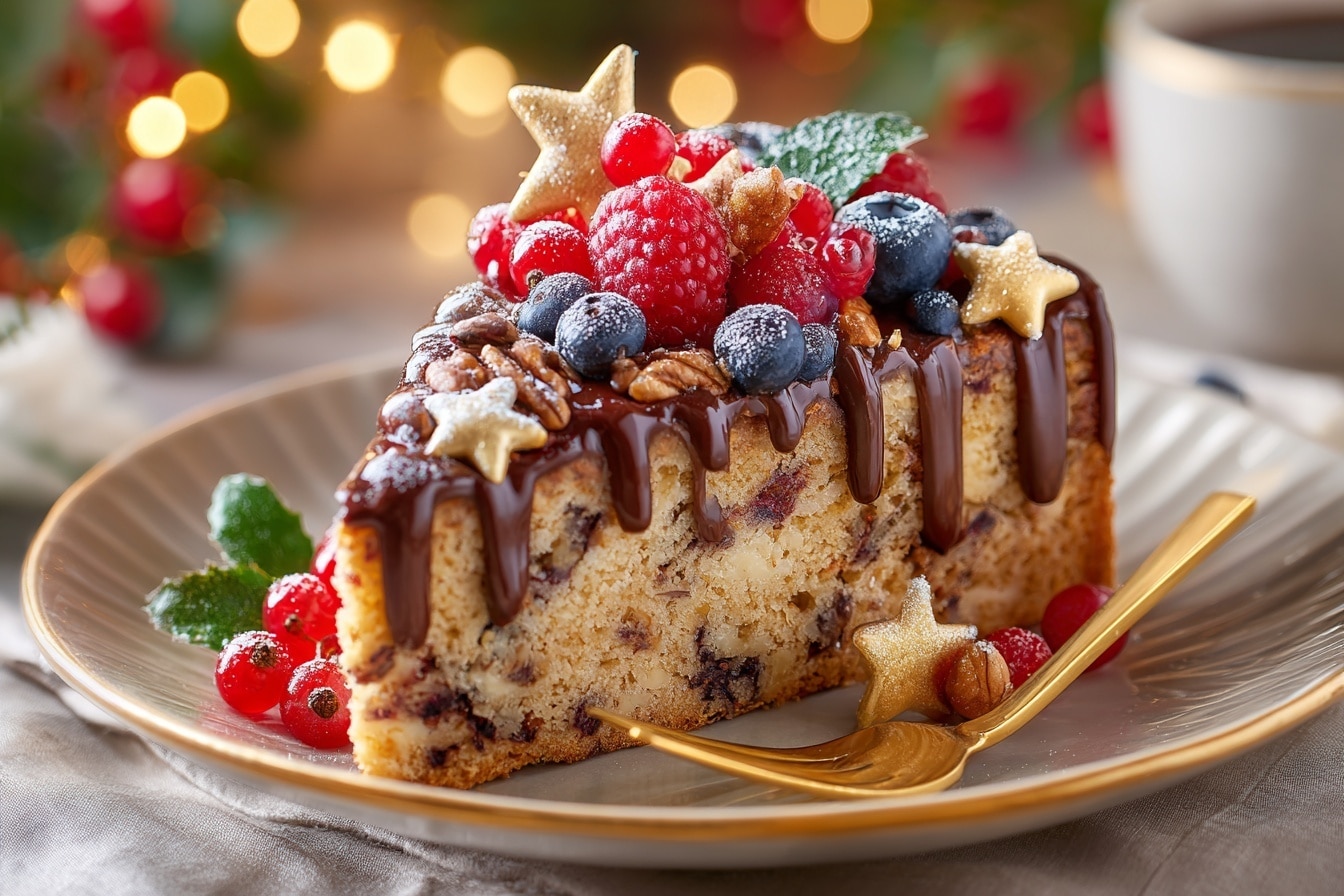
This festive Christmas pudding cake is a delightful twist on a traditional fruitcake, beautifully decorated with smooth white fondant icing to resemble dripping custard. Topped with vibrant holly leaves and berries, it makes a stunning centerpiece for holiday celebrations.
Ingredients
- 500g ready-to-roll white fondant icing
- Icing sugar, for dusting
- 2 tbsp smooth apricot jam
- 1 x 20cm fruitcake
- Red and green food colouring gels
- Edible gold leaf (optional)
Instructions
- Step 1: Lightly dust your work surface with icing sugar. Roll out the fondant to about the thickness of a £1 coin. Using the 20cm cake tin as a guide, cut out a 20cm circle from the fondant. About one-third of the way down the circle, make an undulating horizontal cut to mimic dripping custard. Keep the offcuts covered to prevent drying.
- Step 2: Warm the apricot jam gently in a small pan until loosened. Brush it over the top third of the fruitcake. Carefully place the fondant circle on top of the cake, gently pressing it down to adhere.
- Step 3: Take a small amount of fondant offcuts and dab with red food colouring. Knead briefly to spread the colour, adding more colouring to reach a deep red shade. Roll this into one or two grape-sized balls for berries.
- Step 4: Colour the remaining fondant offcuts with green food colouring until deep green. Roll it out and cut two or three holly leaf shapes using a sharp knife or cutter. Use a knife or skewer to add vein details for a realistic look.
- Step 5: Arrange the holly leaves and red berries at the top end of the fondant “custard.” Use a little apricot jam to help them stick. If desired, use a fine paintbrush to dust the leaves and berries with edible gold leaf for an elegant finish.
Tips & Variations
- For a smoother finish, warm the fondant slightly before rolling it out to avoid cracking.
- If you prefer, substitute the apricot jam with any smooth fruit jam to suit your taste.
- Use different shaped cutters or freehand cut for customized decorations like holly berries or other festive designs.
Storage
Store the decorated Christmas pudding cake in an airtight container at room temperature for up to one week. To keep the fondant fresh and prevent drying, avoid refrigeration. Bring the cake to room temperature before serving to enhance flavors.
How to Serve
Serve this delicious recipe with your favorite sides.
FAQs
Can I use homemade fruitcake instead of store-bought?
Yes, homemade fruitcake works perfectly. Just ensure it is fully cooled before decorating to prevent condensation under the fondant.
How do I prevent the fondant from drying out?
Keep any fondant offcuts covered with cling film or in an airtight container when not in use. Working quickly and storing the finished cake properly will also help maintain moisture.
PrintChristmas Pudding Cake Recipe

Celebrate the festive season with this charming Christmas pudding cake, featuring a moist 20cm fruitcake topped with smooth white fondant icing shaped like dripping custard. Decorated with hand-crafted holly leaves and berries colored in traditional red and green, this cake is both visually stunning and delightfully delicious, perfect for holiday gatherings.
- Prep Time: 30 mins
- Cook Time: 0 mins
- Total Time: 30 mins
- Yield: 1 20cm decorated Christmas pudding cake 1x
- Category: Baking
- Method: Baking
- Cuisine: British
Ingredients
Cake and Icing
- 500g ready-to-roll white fondant icing
- Icing sugar, for dusting
- 2 tbsp smooth apricot jam
- 1 x 20cm fruitcake
Decoration
- Red food colouring gel
- Green food colouring gel
- Edible gold leaf (optional)
Instructions
- Prepare the fondant base: Roll out the white fondant icing on a surface lightly dusted with icing sugar to about the thickness of a £1 coin. Use the 20cm cake tin as a template and cut a perfect 20cm circle from the fondant. Then, cut horizontally across the circle about a third of the way down in an undulating pattern to mimic dripping custard on the cake. Set this piece aside and keep the offcuts covered to prevent drying.
- Attach the fondant to the cake: Warm the apricot jam gently over low heat until it loosens. Brush the warmed jam over the top third of the fruitcake to act as an adhesive. Carefully place the fondant circle on top, pressing gently to stick it securely to the cake.
- Create the red berries: Take a small amount of the reserved fondant offcuts and dab with red food colouring. Knead briefly to evenly distribute the colour, adding more if needed to achieve a deep red shade. Roll the coloured fondant into one or two grape-sized balls to form berries.
- Craft the holly leaves: Colour the remaining fondant offcuts a deep green by kneading in green food colouring. Roll out the green fondant and cut out two or three holly leaf shapes using a sharp knife or a shaped cutter. For added detail, use a knife or a skewer to lightly score veins into the leaves for a realistic effect.
- Assemble the decorations: Arrange the green holly leaves and red berries at the top edge of the fondant custard piece on the cake. Use a little apricot jam to help the decorations stick firmly in place. If desired, lightly dust the holly and berries with edible gold leaf using a fine paintbrush to add a festive shimmer.
Notes
- Ensure the fondant is kept covered when not in use to prevent it from drying out and cracking.
- Use apricot jam warmed just enough to loosen without thinning to avoid a runny texture on the cake.
- Edible gold leaf is optional but adds an elegant and festive touch to your decoration.
- You can prepare the decorations a day ahead; store the cake covered in a cool dry place.
- If you don’t have a cake tin the same size, measure the cake diameter carefully and adjust the fondant cutting accordingly.
Keywords: Christmas cake, fruitcake, fondant icing, holiday dessert, festive cake, apricot jam, holly decoration